
A few links to the tools and ingredients in this recipe are affiliate links, which may earn me a small commission at no extra cost to you.
Squash blossoms
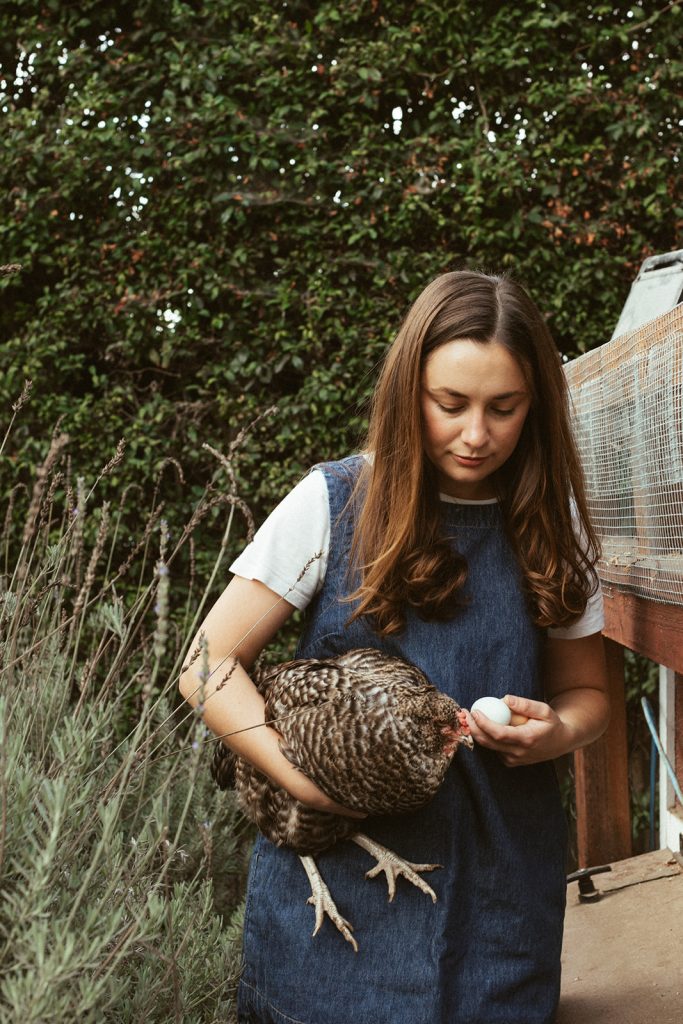
I served these at our wedding and people are still talking about them. There is something about a golden, crispy squash blossom split open to reveal a pocket of warm, herby goat cheese that just stops people in their tracks. They look like something from a restaurant, but they’re shockingly easy to make at home. The whole process takes about 30 minutes from start to plate, and most of that’s just heating the oil. If you grow squash in your garden, you already have the hardest ingredient to find. If not, check your farmers market in the summer months — they sell out fast, so go early.
Jump to:
@carmeninthegarden 🌼 Harvested fresh zucchini blossoms and aromatic herbs from my garden! Watch me create mouthwatering stuffed squash blossoms with creamy goat cheese, just like we served at our wedding! 🧀🌿 It was an absolute hit! 💕 #GardenToTable ♬ original sound – Carmen in the Garden
The batter
Forget heavy beer batters or thick tempura coatings. The batter here is nothing more than flour and cold sparkling water whisked together, and the carbonation does all the work. The bubbles create tiny air pockets in the batter as it fries, which is what gives you that impossibly light, shattering crunch when you bite through. The key is keeping the sparkling water ice cold and whisking the batter just until it comes together — a few lumps are fine and actually better than a smooth batter. Overmixing activates the gluten and makes things tough.


Be gentle with the blossoms and generous with the filling
Squash blossoms are delicate, and the biggest mistake people make is handling them too roughly or understuffing them. You want about a tablespoon of the goat cheese mixture in each blossom — enough so every bite has a creamy, tangy center, but not so much that the blossom can’t close around it. Twist the petals gently at the top to seal everything in. When you remove the pistils from the center before stuffing, do it with care. A gentle rinse under cold water and a pat dry with paper towels is all they need. Do not soak them or they will fall apart.
Subscribe
Join The Community Garden
More than a newsletter, this is the deeper story behind the seasons. Think exclusive recipes, urban gardening tips, personal updates, and the slow-living inspiration I don’t share anywhere else. Join Carmen In The Garden on Substack and dig in.


Serve them with:
A squeeze of lemon, flaky sea salt, a drizzle of honey, or alongside a simple green salad and a glass of crisp white wine.
Print Crispy Stuffed Squash Blossoms with Herbed Goat Cheese
| Prep: 15 | Cook: 15 | Total: 30 |
Garden-fresh squash blossoms stuffed with a creamy mixture of goat cheese, fresh herbs, and garlic, dipped in a light sparkling water batter, and fried until shatteringly crisp and golden. An elegant summer appetizer that takes just 30 minutes from garden to plate.
Ingredients
Herbed Goat Cheese Filling
- 4 ounces creamy goat cheese, at room temperature
- 1 tablespoon finely chopped fresh herbs (basil, thyme, chives, or a mix)
- 1/4 teaspoon garlic powder
- Kosher salt and freshly ground black pepper to taste
Batter and Frying
- 12 fresh squash blossoms
- 1/2 cup all-purpose flour
- 1/2 cup ice-cold sparkling water or club soda
- Vegetable oil or other neutral oil, for frying (about 2 inches deep)
- Flaky sea salt, for finishing
Instructions
Prepare the Blossoms and Filling
- Gently rinse the squash blossoms under cool running water and pat them completely dry with paper towels. Carefully open each blossom and remove the pistil from the center by pinching it at the base and pulling it out. Set the cleaned blossoms on a towel-lined tray.
- In a small bowl, mix the goat cheese, chopped fresh herbs, garlic powder, salt, and pepper with a fork until smooth and well combined. The mixture should be soft enough to pipe or spoon easily.
- Using a small spoon or piping bag, fill each blossom with about 1 tablespoon of the herbed goat cheese. Gently twist the tips of the petals together to seal the filling inside. The blossoms should feel plump but not bursting.
Make the Batter and Fry
- Pour about 2 inches of vegetable oil into a deep skillet or Dutch oven and heat over medium heat until it reaches 350 degrees Fahrenheit. Use a thermometer to be precise — too cool and the blossoms absorb oil, too hot and the batter burns before the cheese melts.
- While the oil heats, whisk the flour and ice-cold sparkling water together in a bowl until just combined. A few small lumps are fine — do not overmix. The batter should be thin and light, about the consistency of heavy cream.
- Working in batches of 3 to 4, dip each stuffed blossom into the batter, letting the excess drip off, then carefully lower it into the hot oil. Fry for 2 to 3 minutes per side, turning once, until the coating is golden brown and audibly crackling. The blossoms will puff slightly and turn a gorgeous deep gold when ready.
- Transfer to a plate lined with paper towels to drain. Sprinkle immediately with flaky sea salt while the oil is still glistening. Serve right away while they are hot, crispy, and the goat cheese inside is warm and melty.
Notes
Harvesting tip: Pick squash blossoms in the early morning when they are fully open. Male blossoms (on thin stems without a small squash at the base) are the ones to use for stuffing.
Make ahead: The goat cheese filling can be made up to 2 days in advance and refrigerated. Bring to room temperature before stuffing so it is soft enough to work with.
Filling variations: Ricotta mixed with lemon zest and mint is a beautiful alternative. You can also add a small piece of anchovy or a sun-dried tomato inside each blossom with the cheese for extra flavor.
Share a photo and tag us – we can’t wait to see what you have made!


Rate & Review